Renewing and Replacing Microsoft Exchange Server 2010 Certificates for Outlook Web Access, AutoDiscover, ActiveSync and POP/IMAP
The Exchange Server's certificate or certificate(s) are about to expire and therefore going to start displaying security warnings to users connecting over Outlook Web App and ActiveSync.
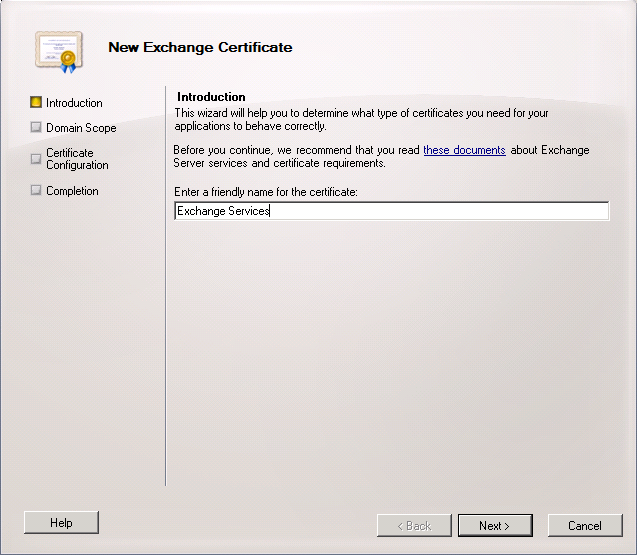
The first step is to generate a Certificate Request File, to do this open the Exchange Management Console, expand Server Configuration and select the Client Access Servers from the top list of Exchange Servers. From the Actions menu click New Exchange Certificate...
Enter a Friendly Name to recognise the Certificate Request click Next.
Do not select Wildcard Certificate, click Next.
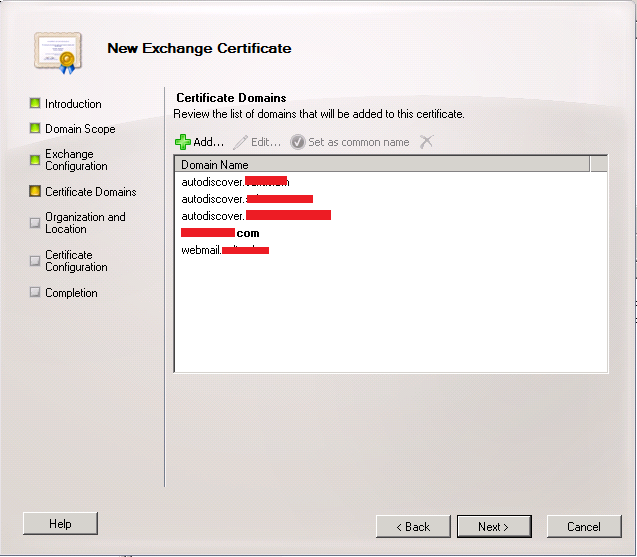
Expand the list of Exchange Services and select the Services and URL's which should be included in the Certificate as Subject Alternative Names, click Next when you have all these selected.
Configure a Common Name using the Set as Common Name button. This is important if you are renewing an existing certificate with your Certificate Authority, if this is the case the Common Name must match that of the old certificate. Click Next.
Enter the Legal Contact Information for the business, again it is important for these details to match if you are renewing an existing certificate. Use the Browse button to select a path to save the Certificate Request File.
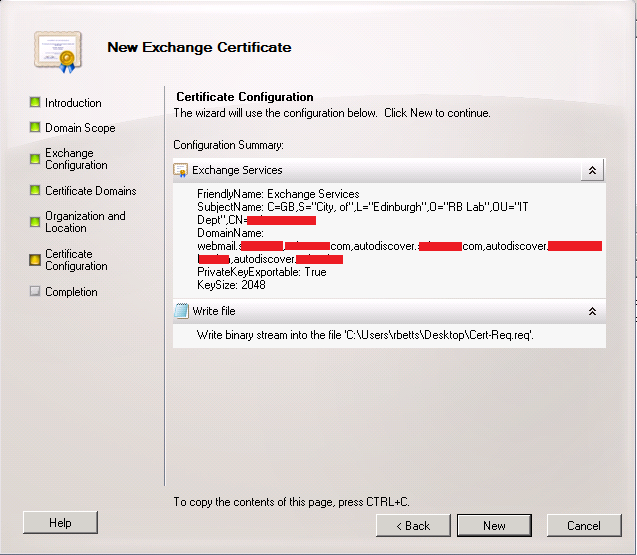
Review the settings and click Next.
Click Finish.
You should be able to open the Certificate Request File using Notepad or another simple text editor. Copy and paste this entire sting of data into the Certificate Request Field on your Certificate Authorities website when requesting the new certificate.
Borrowed screenshot of how this may look with GoDaddy. You then submit this Certificate Request and that allows the Certificate Authority to generate your certificate.
When you have acquired the new certificate file from your Certificate Authority (usually with the file extension .cer or .pem) return to the Exchange Management Console\Server Configuration\CAS\ and right click on your Exchange Certificates (this will be listed as the Friendly Name you configured in an earlier stage). Select Complete Pending Request.
Click the Browse button to search for the newly aquired certificate file, if the file has a .pem extension you must change the File Type to All Files(*.*)
Click Complete to finalize the request.
Right click on your Friendly Name again and select Assign Services to Certificate (the screenshot shown is slightly misleading as I am doing these screenshots retrospectively).
Ensure your Client Access Server is listed and click Next.
Use the tick box listings to select what services your certificate will be used to secure. Click Next.
Click Assign to overwrite the existing certificate.
Now open up Internet Explorer and browse to the external FQDN of your Outlook Web App service and view the certificate. The date should now have changed to reflect the length of the certificate issued. Test all other effected services to ensure the process has worked correctly.


